Deploy Custom Azure Automation Integration Modules Using ARM Templates
Update: Earlier generic linked template for deploying modules was removed and it was breaking my ARM template. I published two linked templates in my ARMSeries repo that can be used to deploy modules to Azure Automation accounts.
Azure Automation has the integration module concept for extending what you can do using the runbooks. These modules are PowerShell modules and can contain functions or workflows. This article from Azure team blog explains how to author these custom integration modules. So, I won’t repeat that here and safely assume that you have a module that you want to deploy to Azure Automation. You can follow this article and try deploying the demo module I built for this purpose.
You can import these integration modules into Azure Automation using any of the following methods.
- Using the New-AzureRmAutomationModule cmdlet in the AzureRm.Automation module.
- Using the preview portal and navigating to the Assets within automation account.
- Using Azure Resource Manager (ARM) template
The first two methods are straightforward. I will show you the ARM template way of doing this. Btw, this is not new and has been there for a while. If you look at some of the modules on PowerShell Gallery, you will see an option to “Deploy to Azure Automation”.

When you click on this button within the PowerShell Gallery page for the module, an ARM template gets deployed. In this article, I will show you how to build this ARM template yourself and deploy your custom integration modules so that you can make this a part of larger ARM template deployment process. To get started, here is the ARM template to deploy my custom module. This module is just for demonstration purpose and it has no useful activities.
| |
Within this ARM template, we use parameters for collecting information about the Automation account. If the provided Automation account name is a new one, we will create it first; if it’s the existing one, we can simply publish the integration module. ModuleUri can be any location where the integration module zip file is stored. This location should be accessible to the service deploying the integration module.
If you notice, we are using a linked template deployment. Using linked template deployments, we can decompose the ARM template into multiple small chunks that are purpose-specific templates. In the template above, I specified the linked template link in line number 23. This is a template hosted by Microsoft and the JSON template file name changes based on the automation account type we select during deployment.
Let us see how this works! I will use the cmdlets in Azure PowerShell module to deploy this template. First authenticate to Azure using the Login-AzureRmAccount cmdlet.
We will now validate the above template and ensure everything is fine before we deploy it. For running the following command, you will need an existing resource group.
| |
Once we see that the template is valid, we can go ahead and deploy it using the New-AzureRmResourceGroupDeployment cmdlet.
| |
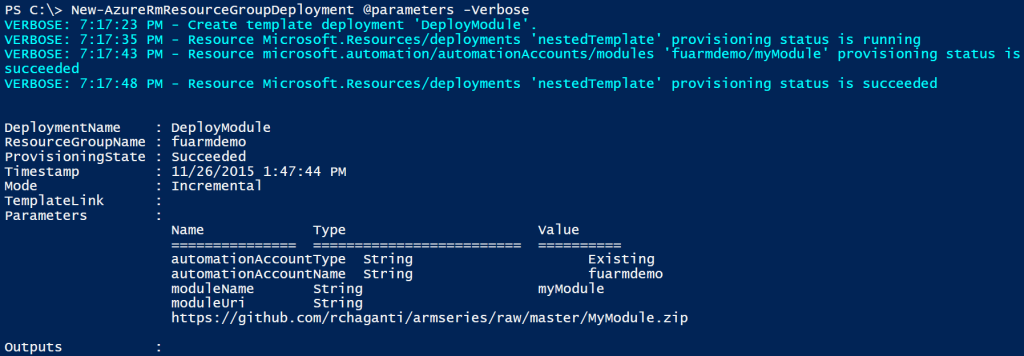
Once this deployment is complete, you will see output similar to this.

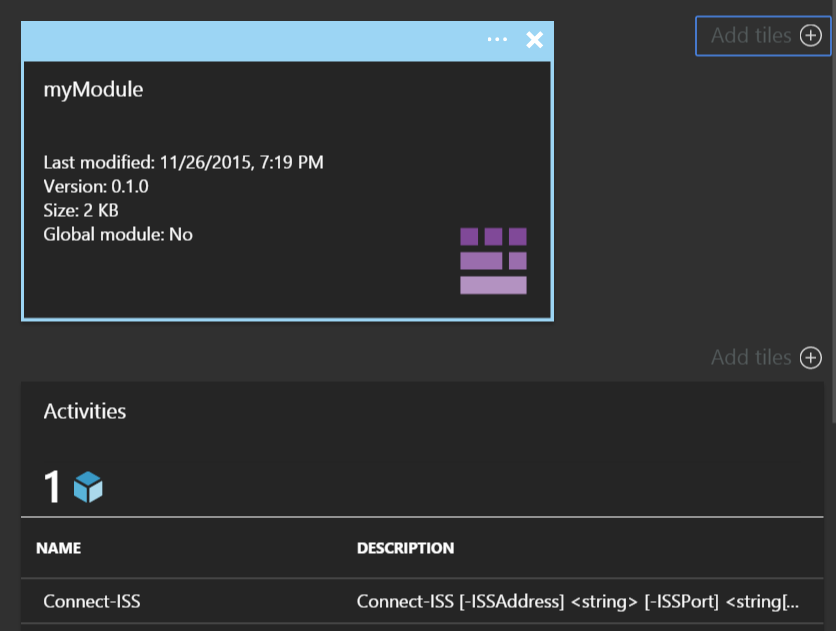
You can navigate to the Automation account on the Azure preview portal and see that the module is indeed present in the Assets blade.

This is it. You can use this template and make it a part of a larger ARM deployment using nested or linked template approach.
Share on: